
HOW TO INSTALL POSTGRESQL ON ROCKY LINUX
Prerequisites
- An Rocky Linux system.
- A user with root or sudo privileges. This user will be used for installing new packages and make changes system-wide.
Installing PostgreSQL on Rocky Linux
List out the available streams for the postgresql module using the dnf command:
dnf module list postgresqlOutput
[root@node02-postgresql ~]# dnf module list postgresql
Last metadata expiration check: 0:16:48 ago on Fri 07 Jun 2024 10:51:45 AM -03.
Rocky Linux 8 - AppStream
Name Stream Profiles Summary
postgresql 9.6 client, server [d] PostgreSQL server and client module
postgresql 10 [d] client, server [d] PostgreSQL server and client module
postgresql 12 client, server [d] PostgreSQL server and client module
postgresql 13 client, server [d] PostgreSQL server and client module
postgresql 15 client, server [d] PostgreSQL server and client module
postgresql 16 client, server [d] PostgreSQL server and client module
Hint: [d]efault, [e]nabled, [x]disabled, [i]nstalledYou can see in this output that there are four versions of PostgreSQL available from the AppStream repository: 9.6, 10, 12, and 13. The stream that provides Postgres version 10 is the default, as indicated by the [d] following it. To install that version, you could just run sudo dnf install postgresql-server and move on to the next step. However, even though version 10 is still maintained, this tutorial will install Postgres version 16.
To install PostgreSQL version 16, you must enable that version’s module stream. When you enable a module stream, you override the default stream and make all of the packages related to the enabled stream available on the system. Note that only one stream of any given module can be enabled on a system at the same time.
To enable the module stream for Postgres version 16, run the following command:
sudo dnf module enable postgresql:16When prompted, press y and then ENTER to confirm that you want to enable the stream:
Output

[root@node02-postgresql ~]# dnf module enable postgresql:16
Last metadata expiration check: 0:16:59 ago on Fri 07 Jun 2024 10:51:45 AM -03.
Dependencies resolved.
=======================================================================================================================================================
 Package                             Architecture                       Version                              Repository                           Size
=======================================================================================================================================================
Enabling module streams:
 postgresql                                                             16

Transaction Summary
=======================================================================================================================================================

Is this ok [y/N]: y
Complete!
Install the latest version of PostgreSQL from the repository using the dnf command below.
dnf install postgresql-server.x86_64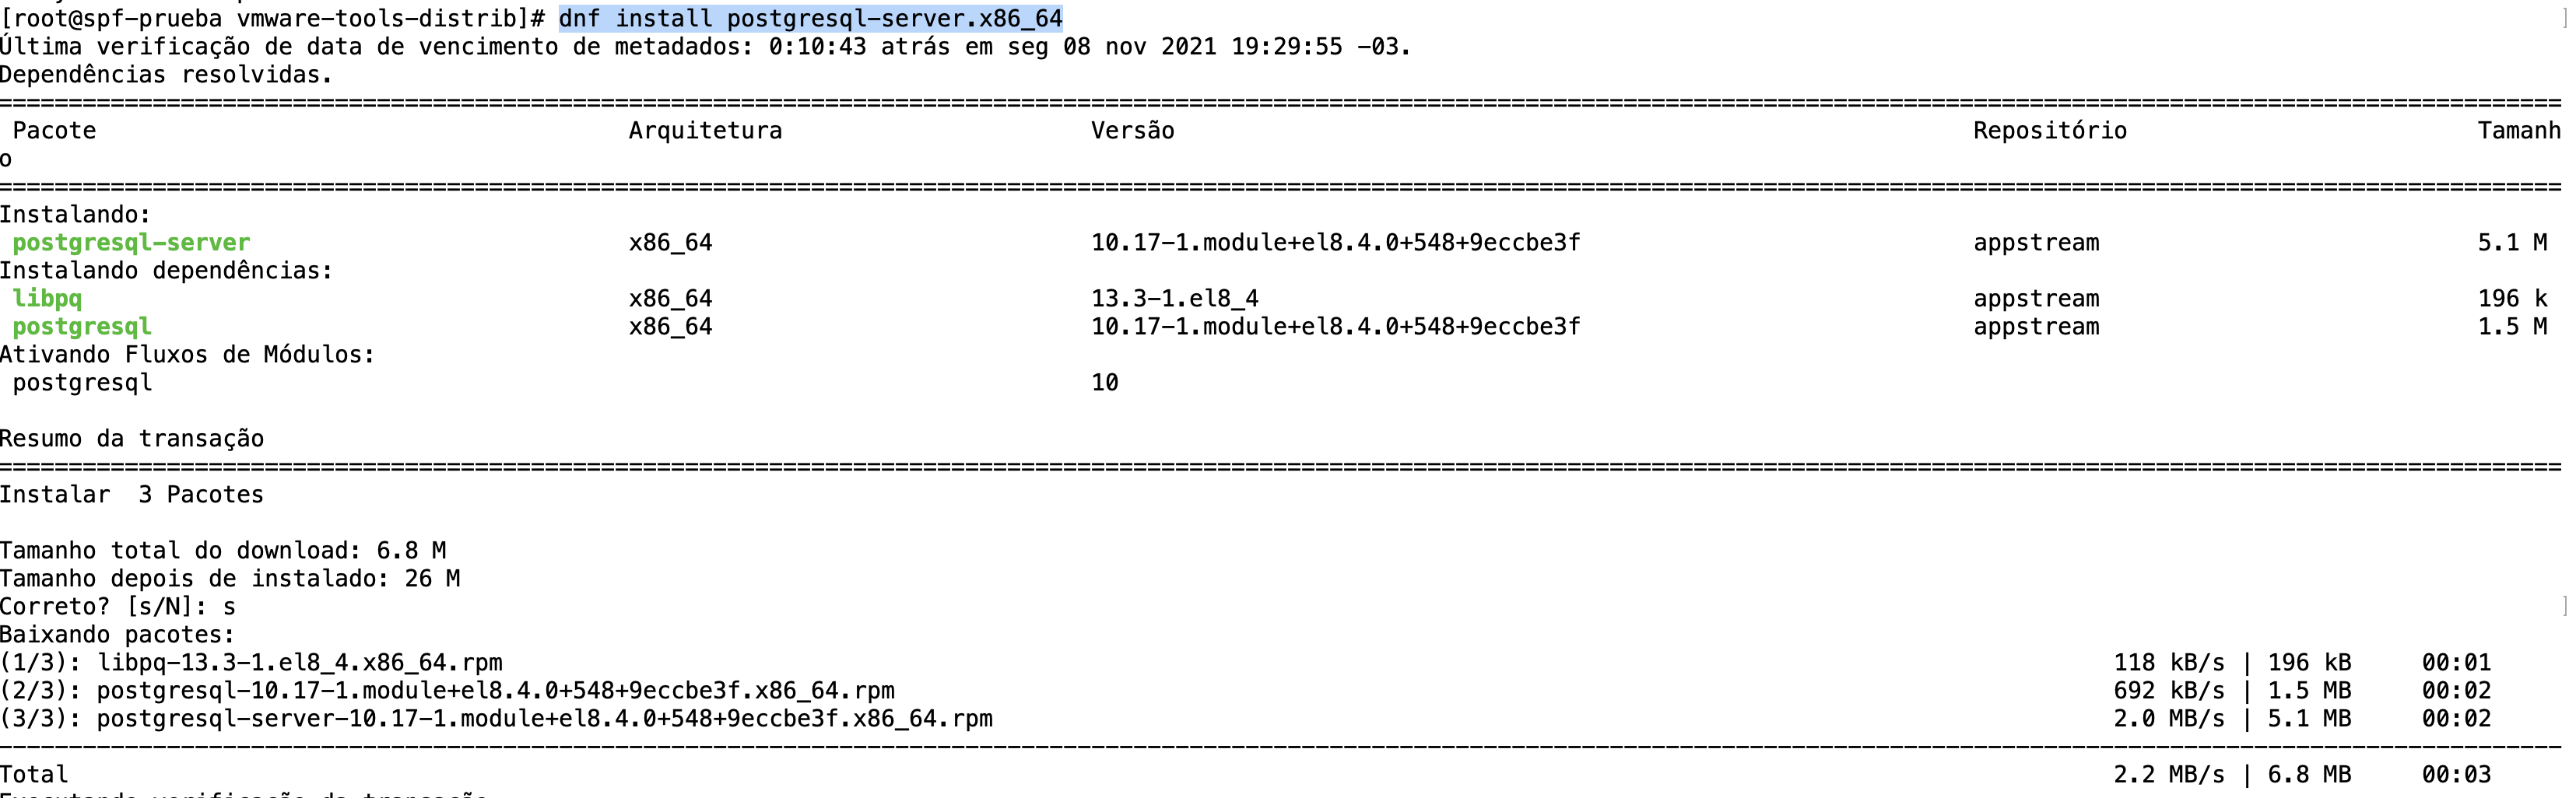
PostgreSQL Database Initialization
Next, after the PostgreSQL installation is complete, you must initialize the PostgreSQL configuration and then start and enable the PostgreSQL service.
1. Execute the following command to initialize the PostgreSQL database configuration.
postgresql-setup --initdb --unit postgresql2. After that, start and enable the PostgreSQL service using the command below.
sudo systemctl enable postgresql
sudo systemctl start postgresql
Now the PostgreSQL service is active and running, and it will run automatically on every boot.
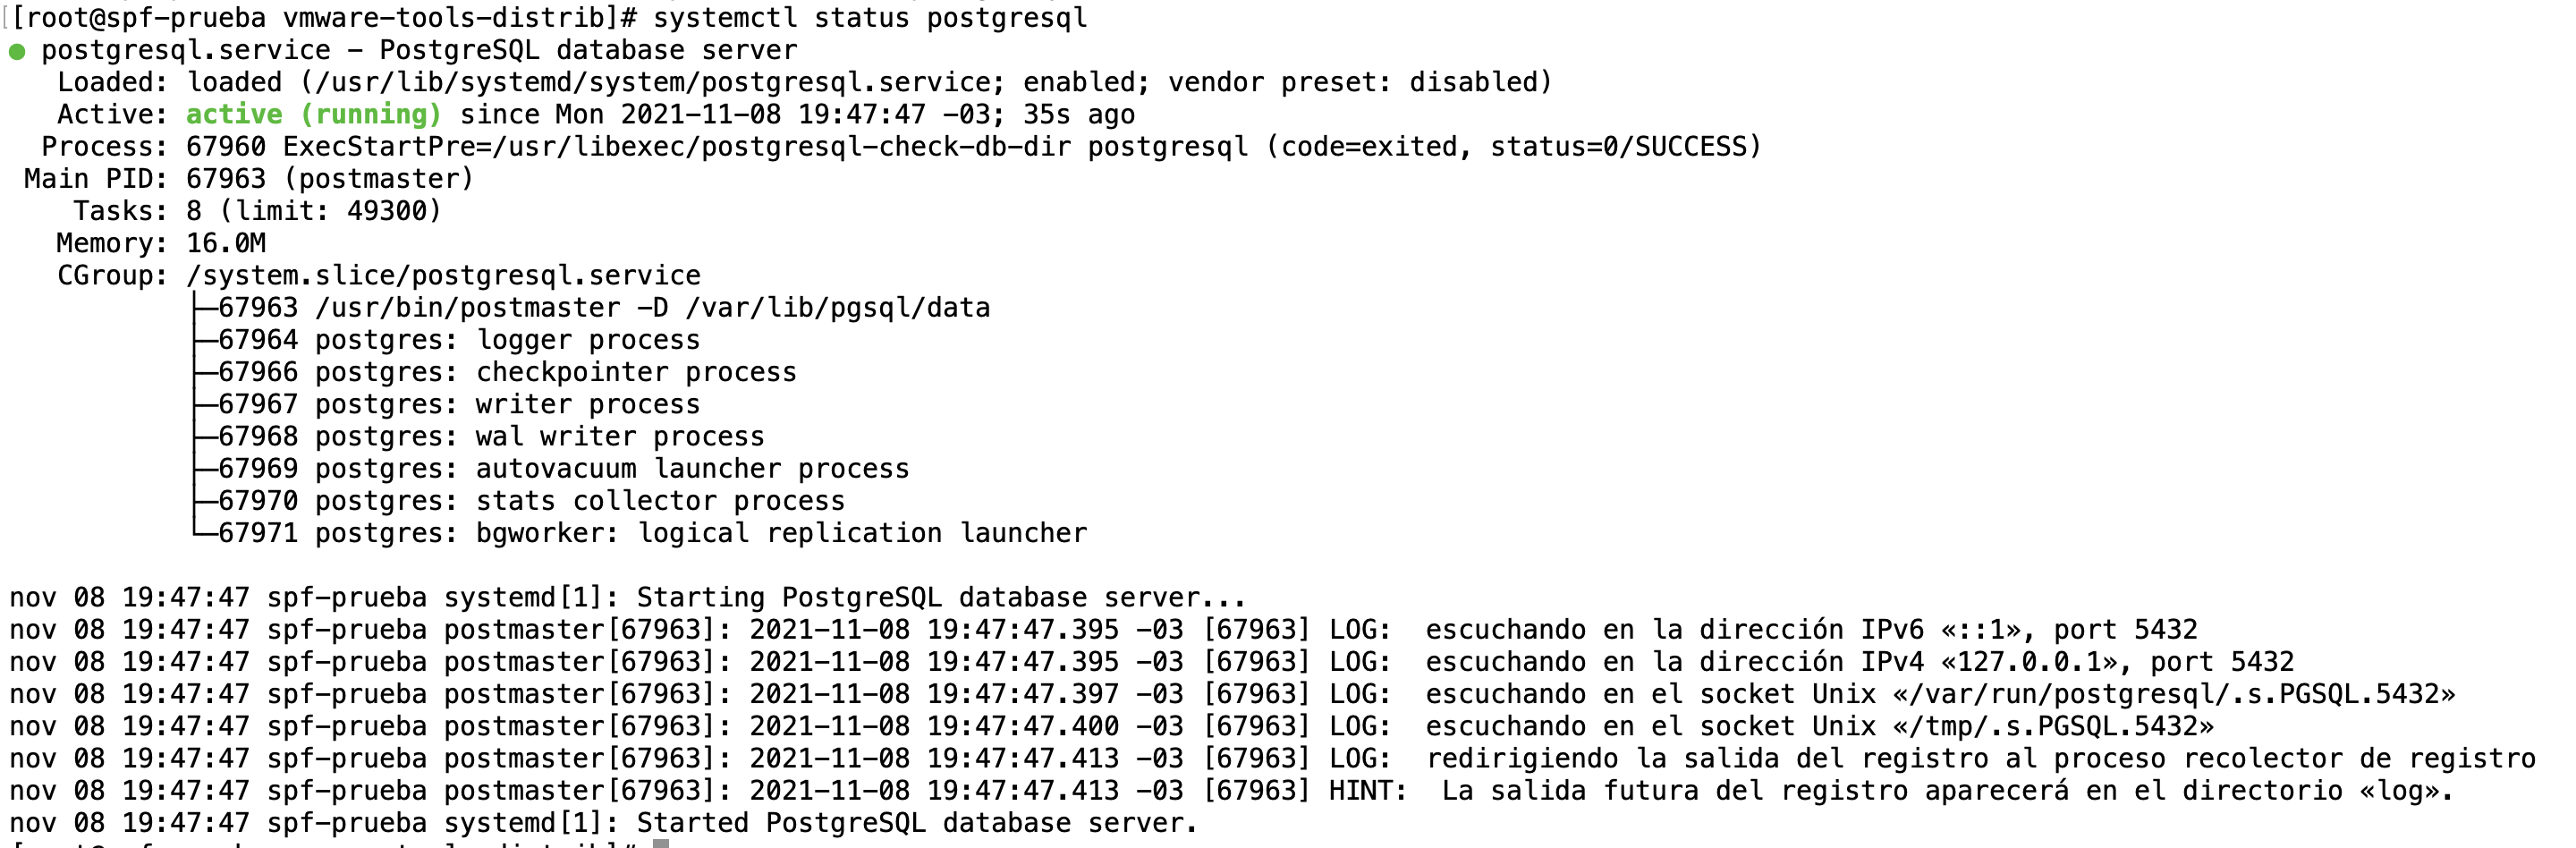
3. Now execute the command below to verify the PostgreSQL service.
systemctl status postgresqlIf your PostgreSQL service is running, you will see the green output such as "active(running)" as below. Otherwise, you will see the red output such as "failed" following by the error message logs.
Securing PostgreSQL Deployment
During the installation, PostgreSQL will create a new system user and database user name as "postgres". And for this stage, you will be setting up a new password for the "postgres" user, both for the system user and database user.
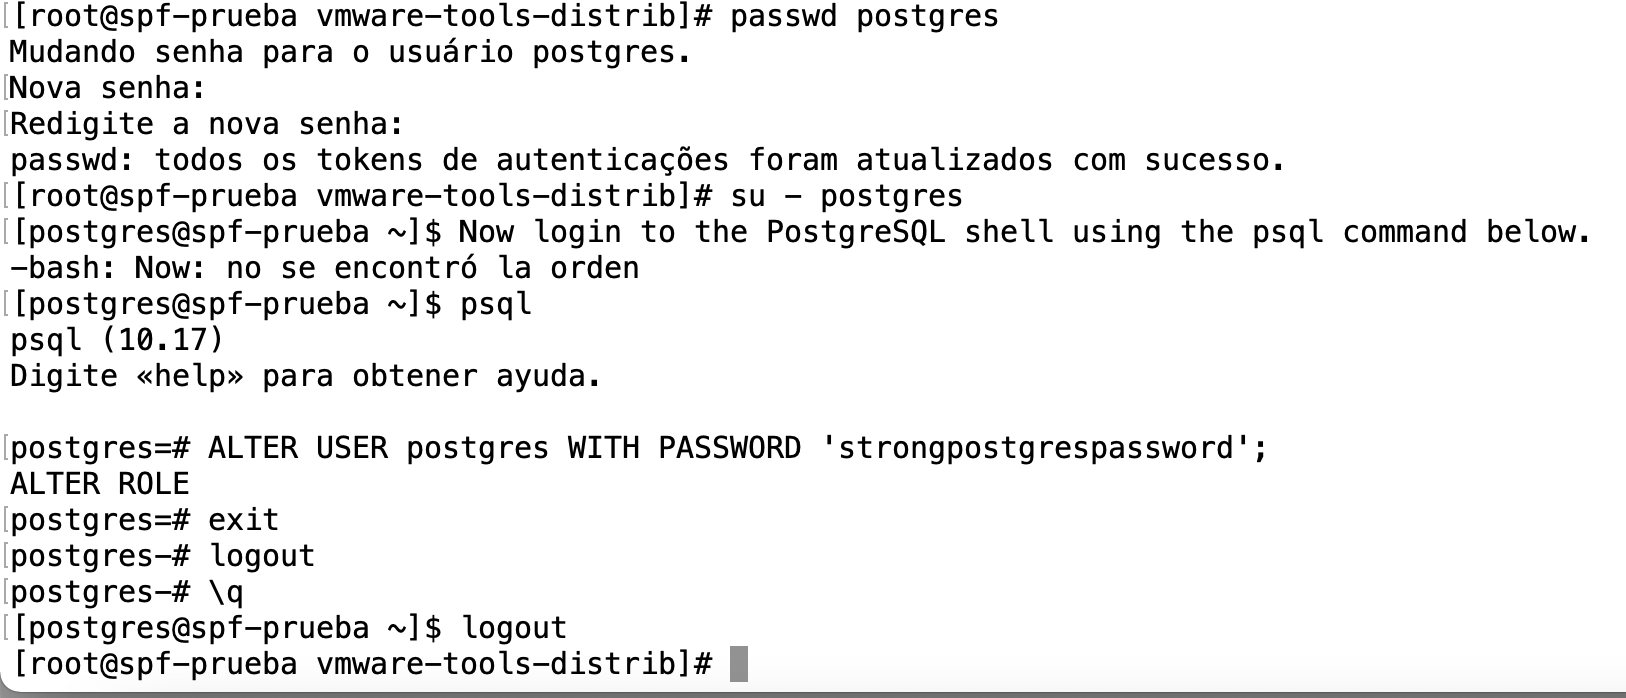
1. Change the password for default system user "postgres" using the following command.
passwd postgresNow type the new password for the system user "postgres".
2. Next, to change the password for the "postgres" database user, you must log in to the PostgreSQL shell.
First, log in as a system user "postgres" using the following command.
su - postgresNow login to the PostgreSQL shell using the psql command below.
psqlExecute the following query to create a new password for the default "postgres" database user.
ALTER USER postgres WITH PASSWORD 'strongpostgrespassword';Change the string 'strongpostgrespassword' to your own password. Now type exit and press "Ctrl+d" to exit and log out from the 'postgres' user shell.
Change Authentication Method
By default, local PostgreSQL users will connect to the PostgreSQL shell using the 'peer' method. The peer authentication method will work only for local connections. In the development environment, you can use this type of authentication, but for production, consider using the password-based authentication method.
For this stage, you will learn how to change the default peer authentication method to password authentication using 'md5'.
1. First, log in to the PostgreSQL shell using the following command.
sudo -u postgres psqlNow execute the following query to check the location of the PostgreSQL configuration 'pg_hba.conf'.
SHOW hba_file;
SHOW password_encryption;
You will see the output as below.

You will notice the PostgreSQL configuration "pg_hba.conf" are located at the '/var/lib/pgsql/data' directory, and the default password encryption for PostgreSQL on RHEL based operating system is 'md5'.
Now type '\q' to exit and quit the PostgreSQL shell.
2. Next, change the working directory to '/var/lib/pgsql/data' and edit the configuration 'pg_hba.conf' using nano editor.
cd /var/lib/pgsql/data/
vi pg_hba.conf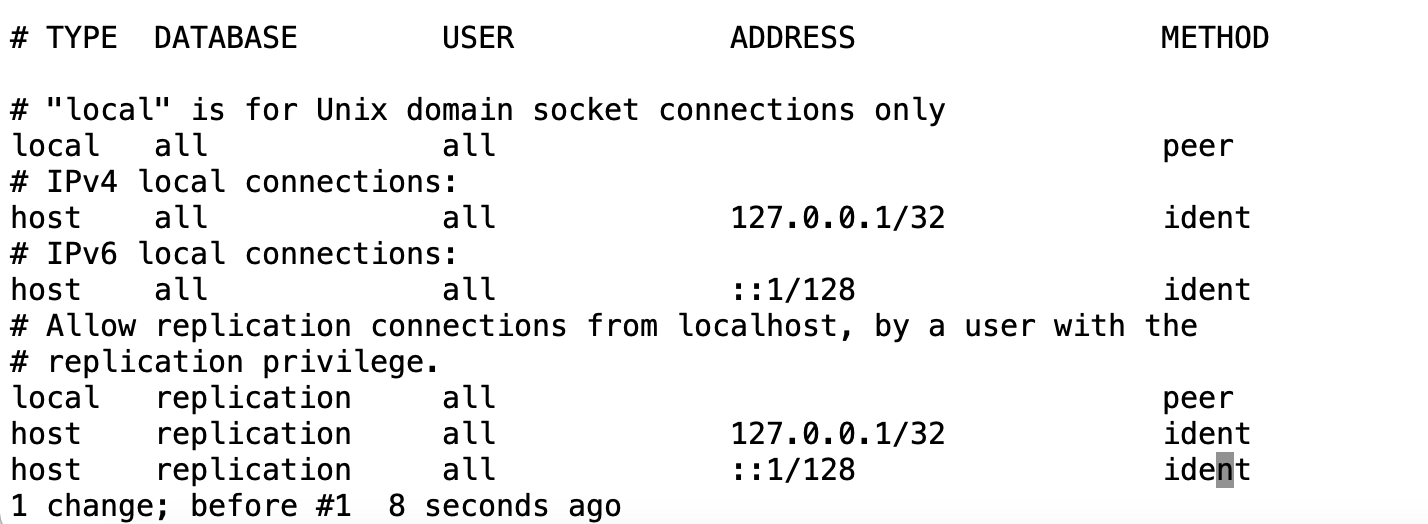
At the bottom of the line, change the local authentication method to 'md5' as below.

Now press 'ESC', type ':wq', and press "Enter" to save and exit.
Using this configuration, you will be prompted for the password to log in to the PostgreSQL shell.
3. Next, apply the new configuration by restarting the PostgreSQL service using the following command.
systemctl restart postgresqlNow every time you want to access the PostgreSQL shell, you must type the password for authentication.
4. To make sure of the password authentication configuration, log in to the PostgreSQL shell using the following command.
su - postgres
psql
Now you will be asked for a password for the default user 'postgres'.
Type the password for the 'postgres' database user and press 'Enter'. If your password is correct, you will see the PostgreSQL shell as follows. Otherwise, you will see the 'FATAL' error because the password is incorrect.

Additionally, you can use the one-line command to log in to the PostgreSQL shell as below.
# Log in as default "postgres" user
sudo -u postgres psql

# Log in as another user
sudo -u postgres psql -U username
Creating New User and Database for your Application
At this stage, you will learn how to create a new user and database on PostgreSQL.
1. Log in to the PostgreSQL shell by executing the command below.
sudo -u postgres psqlNow type the password for PostgreSQL user 'postgres'.
2. Run the PostgreSQL query below to create a new user 'johndoe' with the password 'johndoestrongpassword' and give the user privileges for creating a new database and role.
CREATE USER spf WITH
CREATEDB
CREATEROLE
PASSWORD 'spfstrongpassword';
After that, verify the new user using the following query.
\duNow you will see the new user 'spf' with the list of roles 'Create role' and 'Create DB' as below.

3. Next, to create a new user database on PostgreSQL, run the following query.
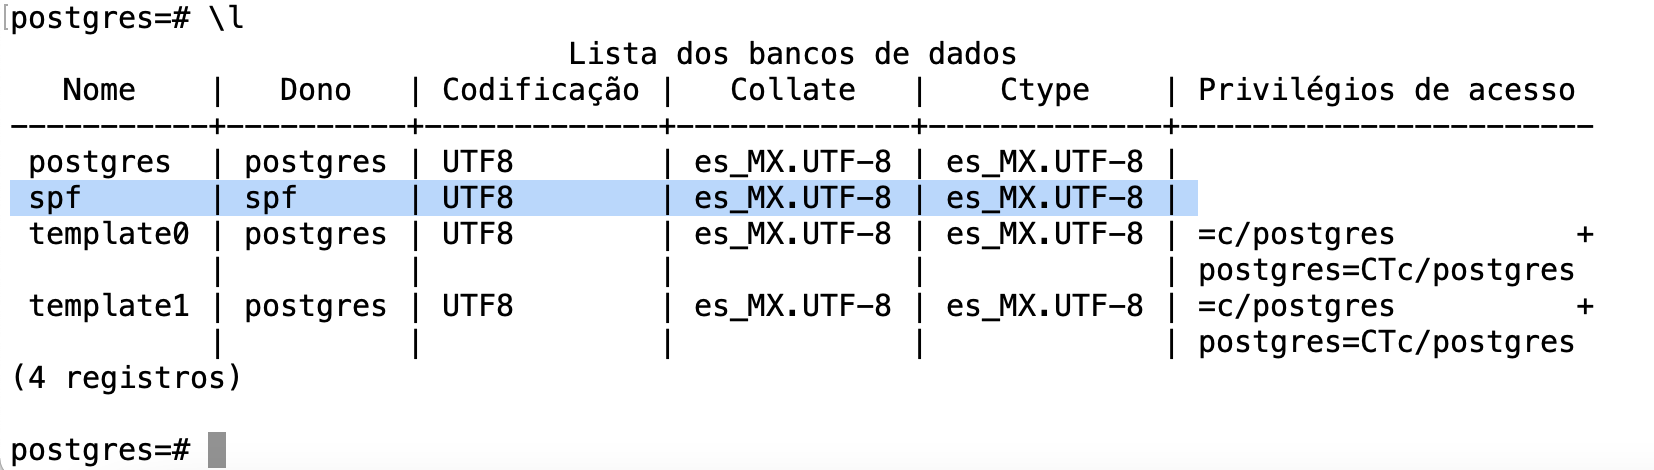
CREATE DATABASE spf OWNER spf;Now verify the new database using the following query.
\lAnd you will see the new database 'spf' with the owner 'spf' as the screenshot below.
Reference link
https://www.howtoforge.com/how-to-install-postgresql-on-rocky-linux/
https://www.digitalocean.com/community/tutorials/how-to-install-and-use-postgresql-on-rocky-linux-8
No comments to display
No comments to display