HOW TO INSTALL MONGODB ON ROCKY LINUX
Prerequisites
- A fresh server running Rocky Linux 8 with a minimum of 10 GB of free disk space
- A non-root user with sudo privileges configured on the server
Update the System
Login to the system using root or sudo user depending on your privilege configuration, and update the system using the following command.
sudo dnf update -yInstalling MongoDB
The MongoDB package is not included in the default repositories for Rocky Linux 8 because it is not considered part of the "base" system. Thus, you need to add the repository containing the package before installing MongoDB.
MongoDB comes in two editions the community edition and the enterprise edition. The community edition is free while the enterprise edition offers additional features. This guide is for the community edition.
Run the following command to add the MongoDB Repository on your system.
cat > /etc/yum.repos.d/mongodb.repo << 'EOL'
[mongodb-org-4.4]
name=MongoDB Repository
baseurl=https://repo.mongodb.org/yum/redhat/$releasever/mongodb-org/4.4/x86_64/
gpgcheck=1
enabled=1
gpgkey=https://www.mongodb.org/static/pgp/server-4.4.asc
EOL
Once the repository is enabled, run the following command to install the mongoDB community edition.
dnf update
dnf install -y mongodb-org
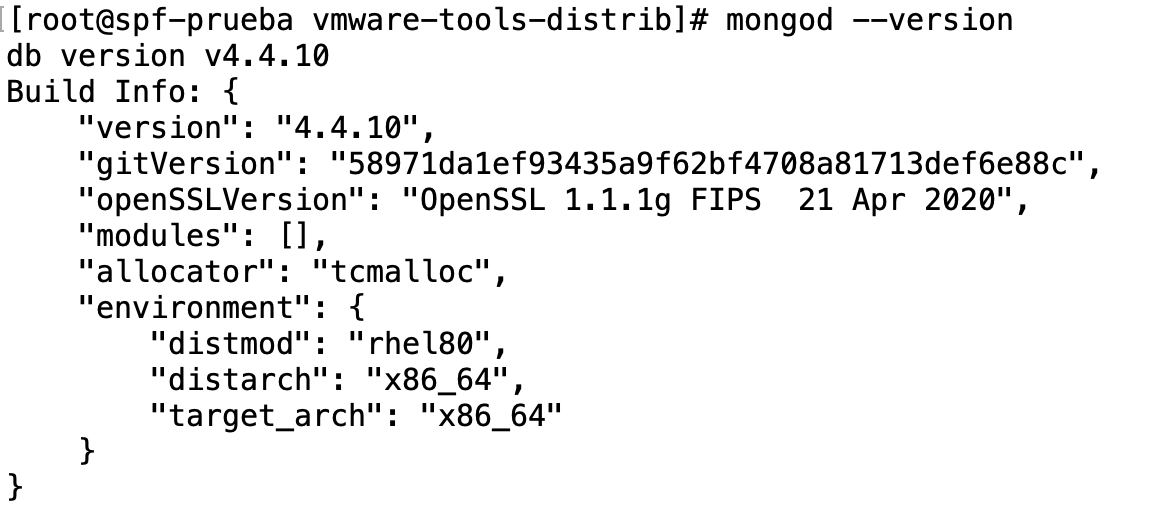
Once the installation is complete, verify the version installed as follows.
mongod --versionThe MongoDB service doesn't start automatically after installation. You can verify this by running the command as follows.
systemctl status mongodThe output should be similar to that below:
Since the service has not started, start it manually by running the following command.
systemctl start mongodTo enable MongoDB to automatically start on boot time, run the following command.
systemctl enable mongodAt this point, MongoDB has been installed and configured on the server. Verify the status of MongoDB service as follows.
systemctl status mongod


No comments to display
No comments to display